
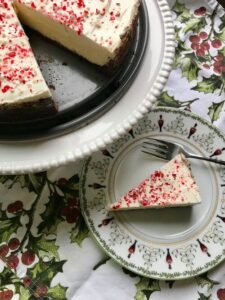
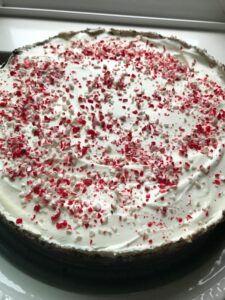
Candy Cane Cheesecake
I just love the cool, refreshing taste of peppermint. It one of my favorite Holiday flavors. Any time I can work it into a Holiday dessert, I am so excited! This is my Mom’s classic cheesecake recipe that we have decked out for the Holidays. We start with a chocolate cookie crust and a creamy cheesy filling that we infuse with peppermint extract to give it a slight peppermint kick. Topped with crushed candy canes, we add a final crunchy peppermint note and a nostalgic splash of red and white, which makes this cake so Christmassy!
Ingredients
Crust:
- 1½ cups Chocolate Cookies, or Graham Crackers crush into crumbs
- 4 oz Butter melted
Filling:
- 24 oz Cream Cheese room temperature
- ¾ cups Granulated Sugar
- 4 Eggs
- 1 tsp Peppermint Extract
Topping:
- 1 pint Sour Cream
- 2 T Granulated Sugar
- 1 tsp Peppermint Extract
- ¼ cup Candy Canes crushed
Instructions
- NOTE: Cake needs to chill for 12 hours before serving.
- Pre-heat oven to 350° F.
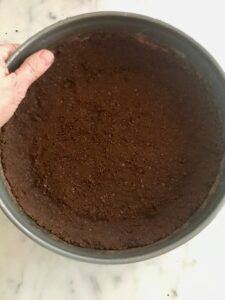
Crust:
- In a small bowl, combine the chocolate cookie crumbs and the melted butter. Stir until the mixture comes together. Using your fingers, press the mixture into the bottom and sides of a 10-inch spring form pan. Set aside.
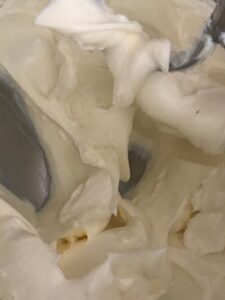
Filling:
- In the large bowl of your mixer, add the cream cheese and sugar; beat at medium speed until creamy and smooth. Add the eggs, one at a time, beating after each one until combined. Add the peppermint extract.
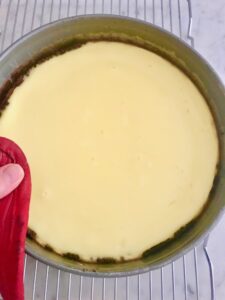
- Pour the mixture into the prepared pan and bake for 30-35 minutes in a 350° F oven until the cake is set. Remove from oven and cool for 30 minutes.
Topping:
- Re-Heat oven to 475° F.
- While the filling of the cheesecake is cooling, in a small bowl, combine the sour cream, sugar and extract. Stir until combined.
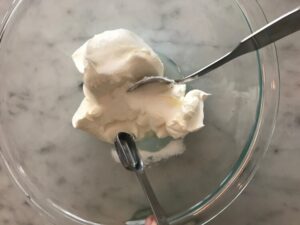
- Place the mixture on top of the cooled cheesecake, spreading it out evenly.
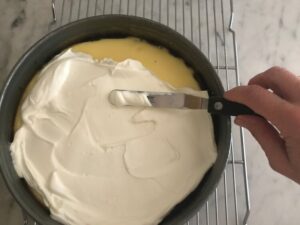
- Place the cheesecake in the 475° F oven for 5 minutes.
- Remove from the oven and let the cheesecake to cool; once completely cooled, place in the refrigerator for 12 hours to set and chill.
- Remove the cheesecake one hour before serving to let the cake come to come up to room temperature. Immediately before serving, top the cake with the crushed candy canes. Cut into slices, enjoy!
Notes
Remember: Cake needs to chill for 12 hours
TIPS & TRICKS
– 1 sleeve of graham crackers yields 1 cup of crumbs.
– Mix the eggs on low speed and scrape the sides of the bowl down after each addition to ensure that all the cheese gets incorporated into the batter.
– Cheese is best served at room temperature, so make sure to remove the cake from the refrigerator an hour before serving so that the flavors are smooth and creamy.
– Top the cheesecake with the peppermint at the last moment because the candies will melt/bleed on to the top. If you’re not enjoying the whole cake at one time, just top each slice before serving. Use real peppermint candy and extract.
– You could top the cake with junior mints, York peppermint patties, or shaved chocolate to serve it year round.