
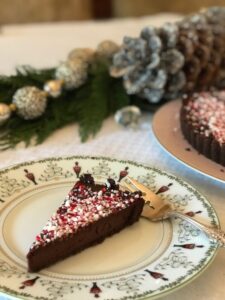
Chocolate Tart with Peppermint
While I personally prefer savory to sweet, I can’t resist a combination of bitter dark chocolate and peppermint. It is simply sublime! This recipe is for a tart that has a dark chocolate cookie crust filled with a bittersweet chocolate and peppermint custard and topped with crushed candy canes This just tastes like the Holidays and is the perfect way to end a celebratory dinner!
Ingredients
CRUST:
- 1½ cups Chocolate Cookie Crumbs** about 30 cookies
- 6 T Unsalted Butter melted
FILLING:
- 12 oz Bittersweet Chocolate cut into pieces
- 2 cups Heavy Cream
- ¼ tsp Salt
- 2 tsp Peppermint Extract
- 2 Eggs
- ¼ cup Crushed Peppermint Candy
Instructions
- Pre-heat oven to 250° F.
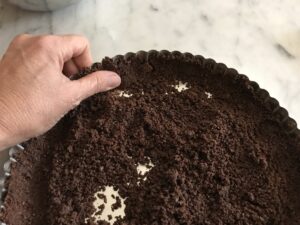
- Crust: In a bowl, combine the chocolate cookie crumbs and the melted butter. Stir until the mixture comes together. Using your fingers, press the mixture into the sides then the bottom of a 10-inch removable-bottom tart pan. Set aside.
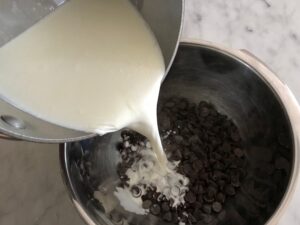
- Filling: Place the chocolate in a medium size bowl. Set aside. In a small saucepan, heat the heavy whipping cream until it is hot and almost boils. Pour the hot cream over the chocolate; make sure all the chocolate is submerged. Cover with a plate or lid and let it sit for 10 minutes.
- Whisk vigorously until the chocolate is smooth and silky. Add the salt and peppermint extract.
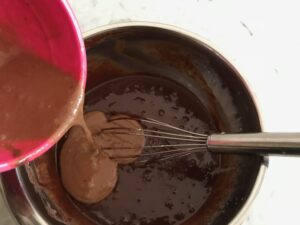
- In a small bowl, beat the eggs together. Add a little of the chocolate mixture to temper the eggs.
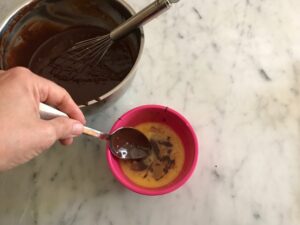
- Mix well, then pour the egg mixture into the chocolate mixture. Stir until combined.
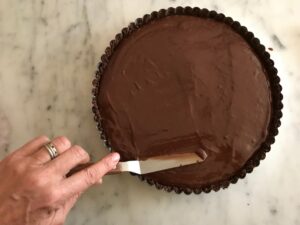
- Pour the mixture into the tart pan.
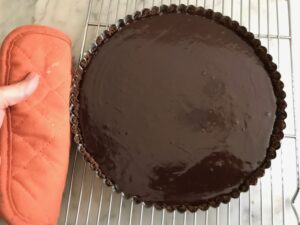
- Bake for 30-35 minutes in a 250° F oven until the sides of the tart are set but the center still very jiggly. Remove from oven and let cool completely. Place in the refrigerator and chill 3-4 hours to set.
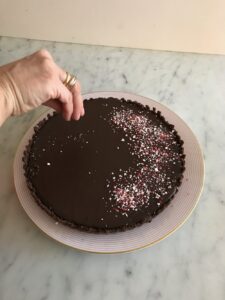
- When ready to serve, remove tart from refrigerator 30 minutes before serving. Right before serving sprinkle the crushed candy cane on top. Slice into slices and enjoy.
Notes
TIPS & TRICKS
– **To make crumbs: place cookies in a food processor and pulse until they are the consistency of fine sand.
– Use the bottom of a dry measuring cup to help press the cookie crumbs into the bottom of the pan.
– Use extract and candies made with real peppermint oil if possible for a wonderful intense peppermint flavor. If using peppermint oil start with 1 tsp. and adjust flavor as needed.
– The center of the tart will be very jiggly when removed from oven. Do not worry it will become firm as it cools.
– Tart can be made 2 days. Just top with peppermint right before serving because peppermint candies will melt/dissolve.